Translite Mini Busduct is designed for easy installation and operation. It is ideal for schools, factories and buildings requiring electrical power less than 600Amp.
As in any mission critical environment, incorrect installation may cause accidents or damages to equipment or machinary, resulting in financial loss.
Before proceeding to install the system, please read instructions carefully and follow the procedures as outlined in this manual.
In case of problem or difficulty related to installation, kindly contact your local agent or Multi-B technical department at salessupport@multib.com.my for assistance.
INSTALLATION TOOLS
You will need the following tools for Mini Busducts installation.
- (+)(-) screwdriver for joint cover.
- M10 spanner for hanger.
- M8 torque wrench for bus bar connection.
- Other necessary tools.
INSPECTION AFTER INSTALLATION
After installing the Mini Busducts, inspect all the routes and ensure the following:
- All the joint parts housings touch each other without gap and the joint bolts are tightened correctly.
- The earthing wire is connected to the earth terminal in the feed-in box.
TEST
After installation, it is recommended that the insulation resistance be measured. Insulation resistance value of the Mini Busduct depends on the route length, circumstance, etc, but usually more than 100MΩ. If it is less than 5M Ω, refer to Multi-B Sdn. Bhd.
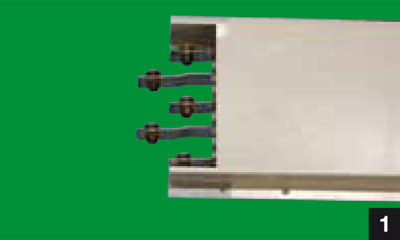
Install the hangers first. Losen the joint bolts as shown.
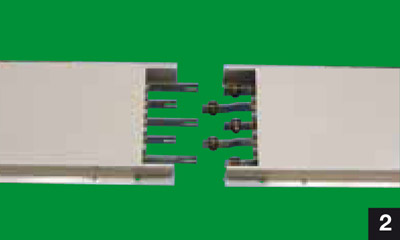
Adjust the centre line, level and fit together in a 180° position as shown.
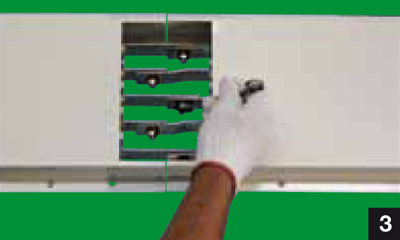
Tighten the joint bolts with the torque wrench. It clicks at the regular torque. (130kgf. cm)
Install the rear joint cover with phase barrier.
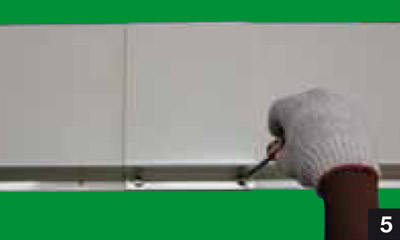
Install the front joint cover and tighten the M5 bolts (4 pcs.)
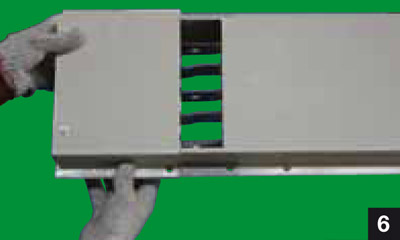
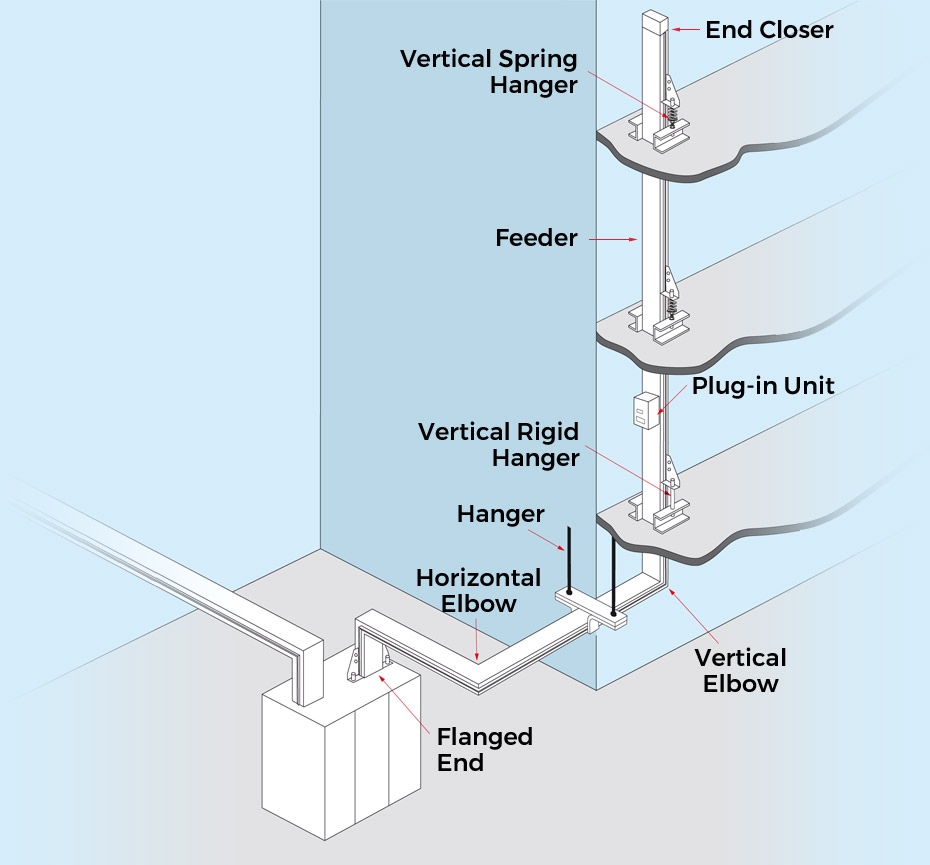
Install the end closer at the end of route.
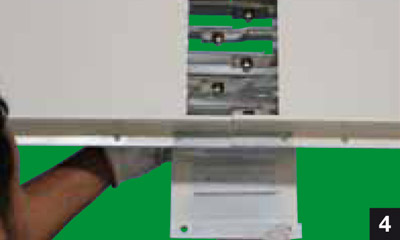
Thighten the M5 bolts (2 pcs.)
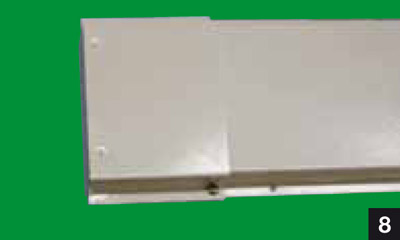
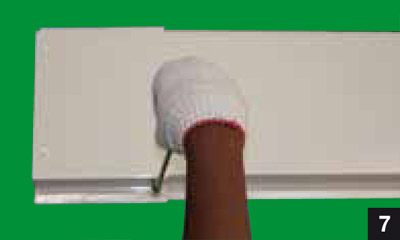
Completed end closer joint.


